How to Pose the Hand For Nail Art
The first step is to take a photograph. It is essential to get the right angle. Otherwise, your nails may look stubby or long. The lighting also plays a significant role. You should use a halogen lamp to simulate natural light, so glitters will sparkle. Crop the photo and add a frame if necessary. Then, select a professional camera rather than a camera phone.
Posing the hand
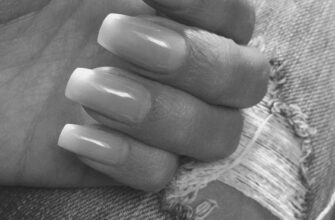
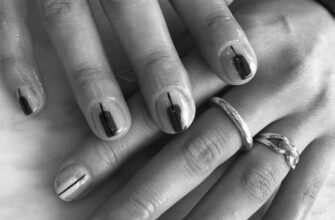
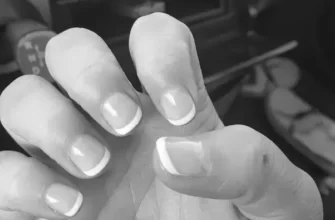
When posing the hand for nail art, the best way to ensure a beautiful end result is to provide the model has the right pose. A lousy posture will ruin a beautiful design, so make sure the hand is positioned in the best way possible to show it off at its best. The following are some tips on how to pose the hand to ensure a gorgeous end result:
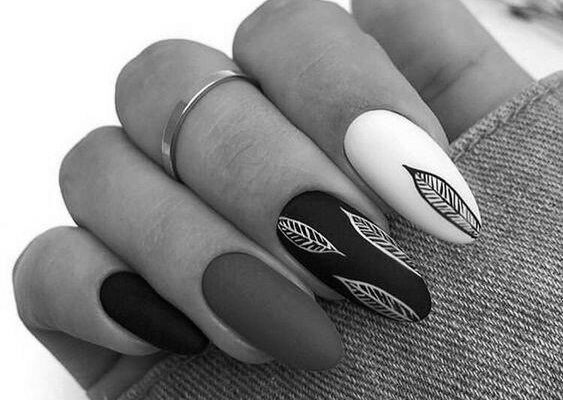
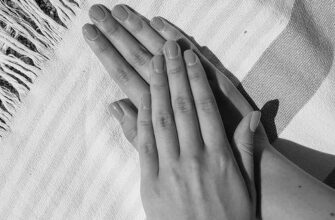
The first thing to remember is that a soft bend on the hand makes the whole image appear more flattering. Stiff hands will look vast and will overwhelm the rest of the picture. Make sure that the fingers are bent softly, and avoid putting the camera’s lens too far away from the hand. Professional nail images have soft bends on the fingers. Here are some tips for getting a great photo:
Ensure that the background is neutral and complements the manicure. The aim of nail art pictures is to draw the viewer’s attention to the nails, so keep it away from distracting backgrounds. Keep the ground monochromatic or use textures and motifs to create visual interest. When taking a picture, don’t forget to add props to create a visual story. A simple bottle of wine, for example, can be the perfect backdrop for your manicure picture.
Lighting
If you’re a nail artist, you know that lighting is an essential aspect of the process. Even the most gorgeous nail art can look drab or unappealing without the right light. Lighting for nail art is crucial to nail professionals who rely on their vision to apply the products correctly. This article will go over some tips to improve your lighting for nail art. We’ll also discuss what kind of lighting to use when photographing your nails.
The most crucial aspect of nail photography is lighting. Natural sunlight is ideal, but it can wash out your nails and cast shadows. You can also use a natural light source or several small lights if you have the time. Use at least two lights to get the best results. If possible, use daylight LED bulbs. Also, try to avoid angled lighting. Lighting for nail art should mimic the natural light, so that glitters and other materials sparkle correctly.
Backgrounds
The background is one of the most important things to think about when creating your nail art photos. Some nail art photos look too distracting to focus on the details, so be sure to choose a background that will help you focus. A busy, messy environment won’t inspire future business. For a fascinating look, try using textured paper. Try the same photo on two different backgrounds, one light, and the other dark. Then, make the background stand out by highlighting the colors of each nail.
Props
There are several tips to use when taking nail art photos. First, consider how your client holds her hand and how you can pose her to give her a flattering pose. Also, remember to take close-up shots of her hands and nail design.
Besides posing your client, make sure that you use well-placed props to enhance the design of her nails. If possible, try to place a hand cream or a polish bottle around her fingers. Otherwise, you can use a plain towel or computer paper. Using a hand cream or moisturizer is essential for preventing dry skin on your nail photos. Using hand cream or moisturizer can also make your nails appear soft and supple.
Using complementary and softer shades of your nail color can make your nail picture more visually appealing. In addition, you can choose a background that is complementary to the nail design. Remember to use safe colors and props when taking your nail pictures. If you are not confident in your photography skills, you can try editing your photos on the computer by using free photo editing programs like Photoshop or similar programs. In addition, you can experiment with photo effects and use different lighting techniques to enhance the picture.
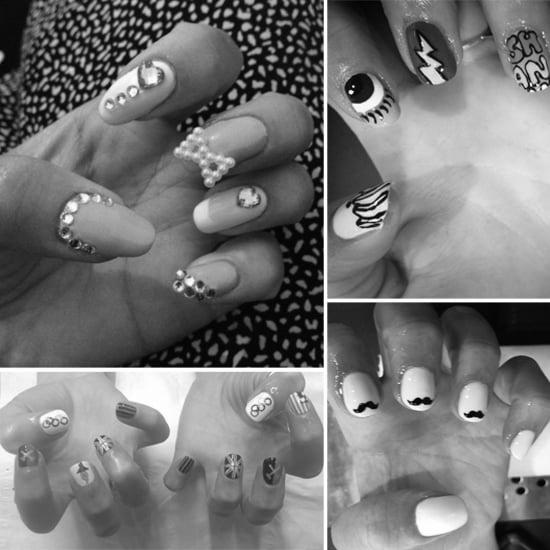
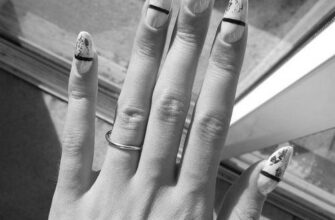
While taking nail art photos, make sure to pose your hands in a flattering way. Try to keep your fingers close together, but not too close, as this will only draw attention to your hands’ wrinkles. A few other tips to use for your nail art photos include maintaining the shape of your cuticles and applying nourishing solutions to your nails. You can also use a remote control to take pictures. If you are unsure, check out this guide.
Composition
When posing for nail art photos, choose neutral or complimentary colors for the background. The main goal of your picture is to focus the viewer’s attention on your nail art. Backgrounds with busy textures or colors are distracting, so choose a monochromatic color scheme to complement your manicure. Use props, such as flowers, plants, or a glass of wine, to add visual interest and depth.
If possible, position the subject where you will be sitting. Then, place the hand in the center of the photo. This will help you get a clear and sharp image. The background should complement the design, not clash with it. It’s also helpful to have an experience that complements the nail color and design. In addition, you can use a mirror to get a good picture of your hand and nails.
Props are an essential part of nail art photography. Make sure to select white or natural-looking light. Consider building a DIY lightbox to create uniform lighting and diffuse light if you’re shooting in a home studio. Professional lightboxes are expensive, so you may consider other methods, such as a light ring attached to your smartphone. To create an exciting nail art photo, take your time and practice your poses!
The best photos include a few key elements. These include visual weight and balance. The details in a good image should be similar on the left and right sides. An unbalanced photo will have more weight on one side than the other. If your nail art photograph is a compositional nightmare, here are some tips to help you get a good photo of your nails. You’ll be amazed at the results!
Can I See Nail Art on My Nails?
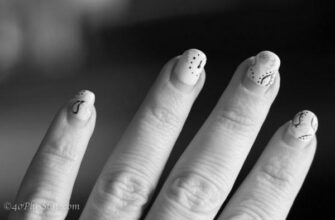
Polka dots have been around for ages and never seem to go out of style. They’re perfect for beginners and professionals alike. You can choose from different color combinations and different-sized dots and add them to any color basecoat. They’re also versatile, and you can wear them almost anywhere. You can do them yourself or hire a professional. Here are a few of my favorites:
Ideas for creating nail art
Fall is a beautiful time of year, and combining fall colors with nail art is a great way to make your nails look amazing. Fall colors are typically reds, yellows, browns, and greens and can be combined with other colors, prints, and florals for a striking look. You can even combine two trends with one nail design, such as cow spots and fall colors. The possibilities are endless! So, get creative and have fun with it!
Polka dots are timeless and are a classic. They have been popular in fashion for decades and can be done by anyone, whether you’re a beginner or a professional. They can be applied to any base color and are easy to use. They also go with most outfits, so you can wear them anywhere. Even if you’re not a nail-art pro, you can always add polka dots to your nails to show off your personality.
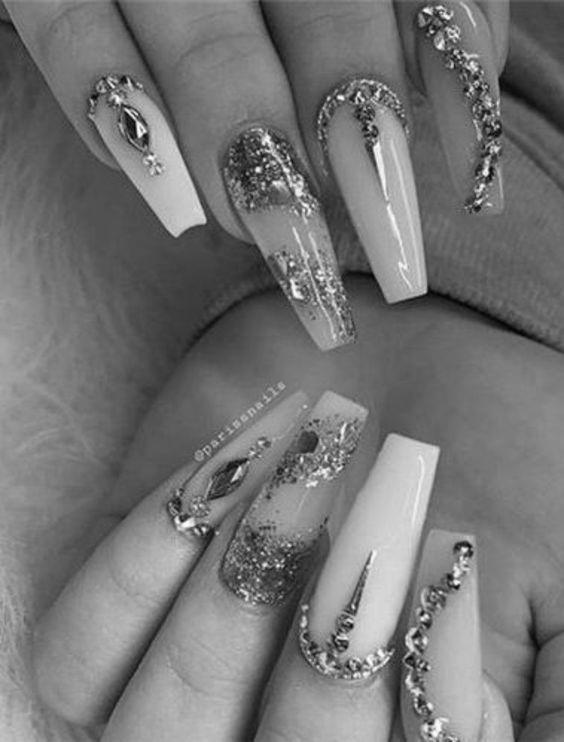
Mix-and-match nail art is bold and fun! With this style, you can use multiple colors on your nails and experiment with patterns and artwork that reflect your personality and interests. Try a fruity manicure, animal prints, or a flower-and-shape combo. Whatever you choose, make sure your nails are long enough to show your creative side! You can even add rhinestones for a 3D effect.
For an even more dramatic finish, try adding a bit of gold to your nails. Although you may think you need a professional to apply these designs, you can do them yourself with the right inspiration. You can even create a fun, artistic look with simple tools and a little creativity! A little creativity will go a long way in nail art! The following tips and tricks will help you achieve a unique nail design.
How to apply it
If you’re wondering how to apply nail art, it’s essential to know your limitations. If you have long nails, you might need to trim them before beginning. Elaborate designs can be tricky to apply on tiny fingers or toenails. For more straightforward applications, opt for small, repetitive patterns. Try to make sure that the bulk of the design is close to the cuticle. A little knowledge can go a long way in nail design success.
Start by applying varying-sized dots with a dotting tool. Alternatively, a fine-tipped implement dipped in nail polish can be used to make swirls and rays. Once the design is complete, apply a top coat to seal everything in. You can also use petroleum jelly to clean the skin around your nails and apply glue to remove any extra glue. This will make the entire process much more manageable.
To create a leopard print design, you will need two colors: the light color, the base color, and the dark color will be the accent color. Make splotches with the light and dark shades, and then use the brush to make “C” and “U” shapes. Once the design is done, you can add a clear topcoat to protect it and prolong the look of your nails. You can also try creating a swirl with glittery nail polish.
Stickers and stamps can also be applied to the nails, but be careful not to use them too heavily. They can leave a white streak on the nails and cause problems with the application. Alternatively, you can also place a silver leaf on your nails to add a touch of sparkle. Regardless of which design you choose, it’s essential to keep your nails clean and dry. Otherwise, you could risk making your plans less attractive than they genuinely are.
There are several different types of nail art, and learning how to apply each one is essential. You can also get tips from nail art forums and YouTube. YouTube has countless videos showing step-by-step procedures for many different designs. Lastly, be sure to apply a base coat on your nails. This will protect them and make the nail polish last longer. You can then apply your nail art with brushes or stickers. You can also use a layer of nail glue to adhere stickers to the nail.
Significance of a design
Manicurists and nail art designers have used nail polishes to decorate and enhance nails throughout history. The popularity of nail art has risen and fallen dramatically. While it is still primarily a woman’s domain, the popularity of nail art has grown immensely among middle-aged women and working women. These women are now more likely to sport manicures than ever before, and the trend of adding decorative nails to the hands is only growing.
The earliest history of nail decoration goes back to ancient Babylonia, around 3200 BCE. Men colored their nails with kohl, a form of old cosmetic made from lead sulfide. Earlier, men wore blue and green nail paints that implied social status. These men often tinted their lips and hair, which is why archeologists have found traces of them in ancient sites. The Egyptians were also early adopters of nail art.
Ways to create it
There are several ways to make your nails look stunning. These designs can be easily replicated with different nail paint colors. You can create a taxi look by using any color combination. You can also try bloomy nail designs, which look very attractive depending on the shape of the flower and the base color. You can also make the design different by using strips. Use cutes to make the design look further and add some depth. Nail art can also be created with mathematical shapes.
You can create a fishnet nail design by carving a piece of masking tape and applying a contrasting color to one half. You can also use a holographic nail varnish and create a glittery pattern by placing 2 pieces of nail tape diagonally across each nail. After making the fishnet design, you can paint the other half of your nails in contrasting colors. Different simple methods include dotty for points, beautiful boxes, and.
You can also use band-aids to create unique designs. These stickers can be placed near the tips of your nails or near the cuticles. You can also use bobby pins to dot your nails. Top them off with a top coat to prolong the look. You can also use acrylic paint. A good tip is to choose colors that match your skin color. You may even want to try combining different colors for different effects.
You can use templates to make a nail design. Alternatively, you can also use a toothpick to guide the template while painting the nails. These can be very useful for beginners. You can also use a nail file to keep the shape of the nails. Finally, you can make use of a nail polish remover. To make nail art, you should also have the correct tools. A nail art brush is a must for nail art.
