
How Can You Get Nail Gel to Dry If You Don’t Have a UV Lamp?
If you don’t have a UV lamp or cannot purchase one, you can still use various methods to dry your gel nails at home. LED lights are almost as effective as UV lamps and can dry your gel nails in about thirty seconds. This article will cover some of the most common methods to dry gel nails. Listed below are some of these methods.
Getting gel nails to dry without a UV lamp
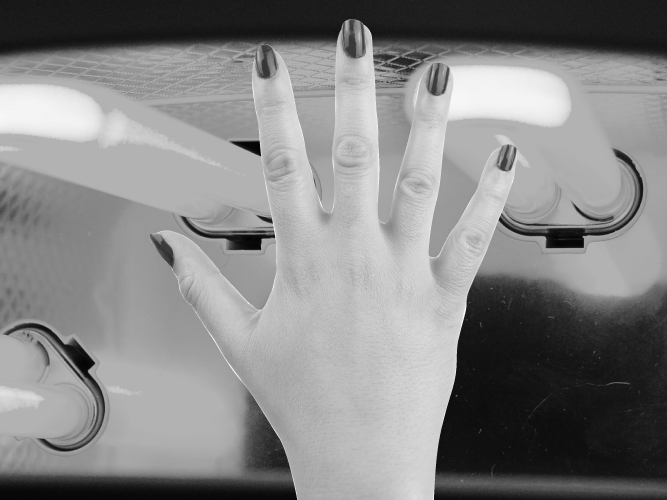
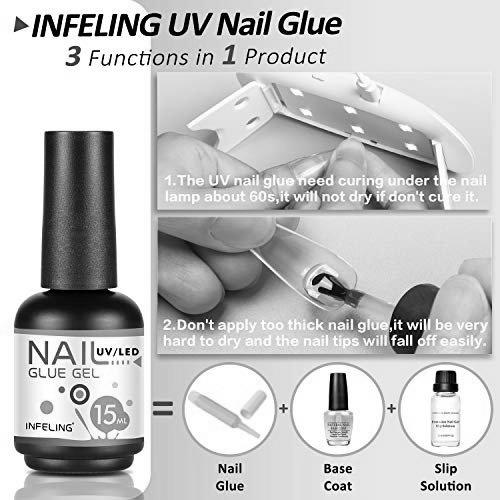
If you’re looking to cure your gel nails at home, you’ll want to make sure you have a UV lamp. Most lights have a timer built into them, and some can even dry the gel nails in as little as 15 seconds! If you’re getting your nails cured by UV light, you’ll need fresh bulbs, so make sure your UV lamp is up to the job. Whether you use a traditional UV lamp or a high-tech LED one, it is essential to use high-quality light to cure your gel nails properly.
In addition to using a UV lamp, you can also use LED lights to speed up the drying process. LED lights are an excellent alternative to UV lamps, and they work just as well. The only difference between LED and UV lights is the amount of drying time. Consider using UV-cured gel polish if you plan to wear your gel nails for a big event. Just be sure to wear a protective glove while wearing them.
Another option for drying your gel nails is to use LED lights. These have several benefits over UV lights. First, LEDs take far less time to dry the gel than UV lights. That means less exposure to harmful radiation. And second, LED bulbs last much longer than UV lamps do, with a UV bulb needing to be replaced after about 10,000 hours. Also, broken bulbs can leak mercury, which is harmful to the environment.
If you can’t find a UV lamp, you can try to apply a non-UV gel polish yourself. These are available from several nail polish manufacturers. These paints are used similarly to traditional nail polish, except they don’t require a UV lamp. They cure on their own without a UV lamp. Make sure to read the packaging for details about the product. Once you’ve applied your nail polish, make sure you have a clean surface for the gel to adhere to.
One way to get your gel polish to dry without a UV lamp is to apply thin layers. While it’s true that gel polish requires a UV lamp to cure correctly, thin layers are best. This way, the nail polish can get sufficient UV exposure, and you’ll avoid the risk of your nails not drying correctly. Make sure you apply a base coat and a top coat to prevent chipping and peeling.
Using non-UV gel polish

If you don’t have access to a UV lamp, you can still use a UV-resistant nail gel polish to dry your nails. It will not have the same shine and quality as UV-cured gel polish and will take longer to dry. However, there are some drawbacks to using this method, so make sure you follow product instructions carefully.
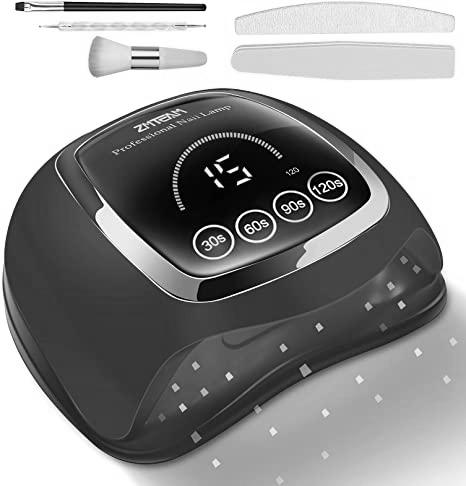
The best way to cure gel nails without a UV lamp is to use an LED lamp. LED lights can cure gel polish in just a minute or two and are much more affordable than UV lamps. They can also last up to 3 weeks. The time required to cure gel polish without a UV lamp depends on the brand and type of gel polish that you use.
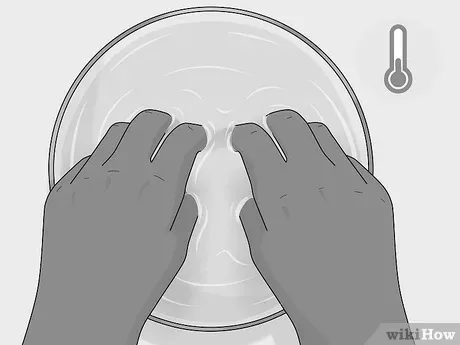
When using non-UV nail gel polish to dry, you can use ice water or a UV lamp to dry the product. UV light can be harmful to health, so you should use an LED lamp instead. Another alternative is to use a UV lamp and apply a topcoat. This will give your nails a beautiful, glossy finish. To remove non-UV nail gel polish, you will have to file them off.
If you don’t have a UV lamp, you can still apply gel nail polish to your nails without a UV lamp. Some brands dry naturally without UV lights, but they aren’t as durable. Despite these pros, most gel nail polishes require UV lights to dry. When considering which brand and product are best for you, check the drying instructions for each product.
While LED lamps are safer than UV lamps, you should still choose one that emits a broader spectrum of wavelengths. UVA lights attract the polymers in gel, while UVB light penetrates them and makes them hard. The more comprehensive range of wavelengths allows the gel to dry more quickly. If you don’t have a UV lamp, you can use LED nail lamps to dry the polish.
Using LED lights
Using LED lights to get nail gel to cure at home is one way to speed up the drying process. LED bulbs provide a higher level of UV radiation than UV lamps do, so your gel polish will dry in seconds rather than minutes. You can even speed up the process by using a hairdryer. LED lights can be as effective as UV lamps at accelerating the drying process.
LED lights are much cheaper than UV lamps. They are more efficient and dry your nail gel in 45 seconds versus eight or nine minutes with a UV lamp. However, you’ll need to wear protective gloves or sunscreen if you’re planning on using an LED lamp. The operating instructions will depend on the LED light you’re using, but you can generally set a smartphone timer to time it for you.
Before you use an LED light to dry your nail gel, you should determine whether your gel polish brand is compatible with it. UV lamps have a broader spectrum of wavelengths than LED lights, making them an excellent choice for curing all types of gel polish. The manufacturers of most gel polishes specify the curing time of their products, and you should follow their instructions for proper use.
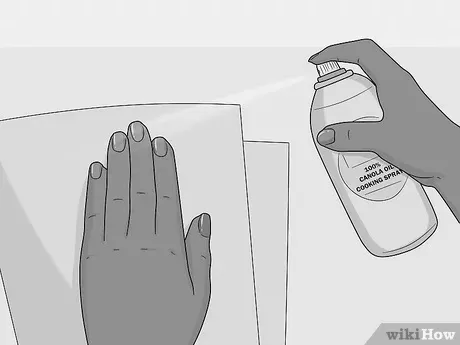
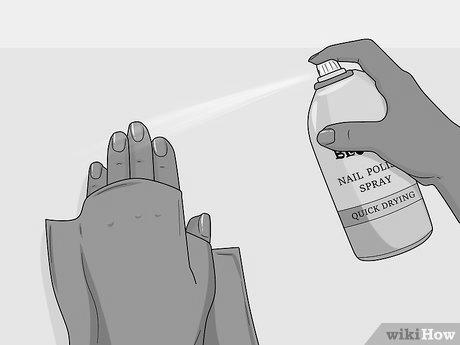
Another option to use LED lights to dry your nail gel is to paint a clear topcoat over your regular nail polish. This topcoat will not affect the shade of your regular nail polish, and it will also provide a protective layer over the painted nail. It will also make your nails look shinier and last longer. You can also try using hairspray to speed up the drying process.
If you don’t have a UV lamp, don’t worry. LED lights are safe and effective alternatives to UV lamps. They are safer, more affordable, and emit less radiation than UV lamps. The downside of LED lights is that they restrict the types of nail polishes that can cure under them. Despite these differences, you may still find it easier to use LED lights when doing a manicure at home.
Using a UV lamp
Using a UV lamp is a great way to dry your gel nails fast. But it’s not necessary to use a UV lamp, as LED lights work just as well. LED lights can dry nail gel in just 30 seconds. Using a UV lamp for gel nail drying is not recommended unless the nail polish has already been applied. Using a UV lamp may accelerate evaporation, which is a bad thing.
Exposure to UV rays can cause skin damage, including premature wrinkles, age spots, and skin cancer. Although the FDA has not received reports of skin cancer from using a UV lamp for nail drying, people with sensitive skin should avoid using a UV lamp unless they’re absolutely sure that UV exposure is not harmful to them. If you’re on any medication or supplement that can make you more sensitive to UV light, you should avoid the UV lamp altogether.
Some gel nail polish drying lamps are equipped with a timer so you can monitor the curing process. A few models use 48W high-power LED beads to speed up the process. A large opening allows you to dry up to five nails at a time. It comes with a pink hand pillow, mini gel polish, a cuticle stick, and remover wraps. This UV lamp may be a good solution if you’re in a hurry.
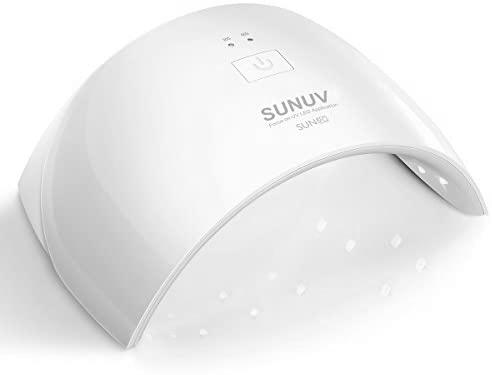
While UV lamps are an expensive gadget, they’re worth investing in. They’re not only convenient but also safer for your skin. Plus, they can be portable, too! A top UV lamp for gel polish is lightweight and folds into a carry-on suitcase. This means you won’t need to worry about storing a bulky UV lamp. Most UV lamps can dry two hands at a time, making them ideal for travel.
When using a UV lamp to dry nail gel, it’s important to remember that darker colors take longer to dry than light shades. A UV lamp is necessary for this process because it requires a specific wavelength of UV light. On the other hand, using an LED lamp only needs a few seconds to cure your nails. The amount of time it takes will vary depending on the type of lamp you’re using and the thickness of your polish.
How to Apply Gel Powder Nails
To apply gel powder nails, you need to prepare your nail surface. This can be done by using a manicured block or a nail drill. You must also trim your cuticles. The oils that accumulate in them can make applying powder difficult. Before applying powder, a base coat is a must because it adheres to the nail plate. To apply the powder evenly, you should use a thin layer before applying the base coat.
Dip powder nails
If you’re in the market for a new manicure, you might want to know how to apply gel powder nails. Unlike traditional acrylics, dip powder nails don’t need UV light to cure. This means they last a long time without chipping or peeling. Before you decide on your new manicure, check with your nail technician to make sure they use a clean tool. Also, remember to ask your manicurist about a specific brand.
If you’ve always admired the look of dip powder nails, you’re in luck. Dip powder manicures are odorless and require no UV/LED lamp for application. They can also be done at home. In addition, the process can take half as long as a gel manicure. For your convenience, this process is fast and easy to follow. And because dip powder doesn’t use strong chemicals, it won’t chip.
Apply the Base to the entire nail and dip the color close to the cuticle. Avoid getting the paint too close to the cuticle, as this can cause lifting and a less-than-perfect manicure. Make sure the brush is parallel to the nail to prevent indentations. After you have the base coat, you should apply a transparent powder. This protects the pigments of the color. Apply a top coat once it’s dry, and enjoy your new manicure!
Once the Base is dry, dip your nails in Dip Powder. Then, place the powder onto the nail, making sure you have space between the cuticles. When finished, brush off the excess powder with a fluffy brush. The powder will cover the dip powder. Depending on your choice of color, it might take two or three applications. You can apply this treatment over nail polish if you’d like. It’s worth the effort and money, however.
The pros and cons of dip powder include the fact that it doesn’t have the same acrylic smell, making it a better choice for those allergic to it. However, it is essential to check with your doctor before using dip powder if you have any underlying medical conditions, such as diabetes or a history of fungus. In addition, the dip powder comes in a variety of shades. You can create fun, trendy designs with dip powder.
Dip powder nails last anywhere from two weeks to a month. Unlike traditional acrylics, they won’t chip or peel when your nails grow out. Moreover, they can be painted over at any time if you desire. A final topcoat is applied when you leave the salon. If you want to use gel powder nails yourself, follow the tutorial below to get the desired look. And remember to always get the perfect manicure every time!
Kiara Sky Dip Powder Recycling System
With the Kiara Sky Dip Powder Recycling System, you can reduce the amount of powder waste and make cleanup much more accessible. With the included spoon and catch features, you simply scoop the amount of dip powder you need and pour it over the nail, catching any excess powder. You can clean up quickly and keep the whole system looking new. If you’re in the market for a new system, the Kiara Sky is a great option!
This convenient system has several advantages, including an easy-to-use scoop and a catch that makes cleanup a breeze. The powder is non-yellowing and contains calcium and vitamins. It’s also air-dry, which means no UV lamp is required. This system is perfect for salons. It’s also a good option if you want to reduce the powder waste you produce. It’s also a good option for environmentally conscious and concerned about animal cruelty.
DipWell Nail Powder
There are pros and cons to applying DipWell nail powder over gel nails. Aaron suggests evaluating your nail health before getting your nails done. People with nail fungus should avoid dipping their nails. If you already have a nail fungus, it is best to pour the powder into a separate container and avoid sharing it with anyone. Make sure to follow all instructions for proper nail care before applying DipWell.
Another major plus of DipWell nail powder is its cruelty-free and vegan design. It is available in many different colors, and the kits are highly customizable, so you can choose the exact shades you want. DipWell nail powder is free of questionable chemicals, and the system contains calcium to ensure a beautiful finish. The dip powder system is also fast, easy, and cost-effective, reducing the need for a salon visit.
These powders are easy to use, but they last a long time, too. They’re also enriched with vitamin E and calcium, making them healthier than traditional powders.
Dip powder nails can last for days. Once they’re dry, you apply a top coat of powder. You should also use a base coat. This will help the powder adhere to the nail. Apply the second powder coat, leaving a sliver of space below the cuticle. Repeat the process up to three times. This prevents the cuticle and side walls from becoming flooded.
You’ll have a professional-looking gel manicure without the expensive price tag. Dipwell nail powders last for up to two weeks before chipping. The powder is also easy to remove with nail polish remover clips. However, it is best to leave dip powder manicures to professionals. The dip powder manicure can get very expensive if monthly trips to the salon are the norm. To avoid this, more companies are making affordable at-home powder nail kits that anyone can use.
If you are new to applying dip powder, you should follow these tips before you start. First, keep the base coat and top coat dry. Otherwise, you’ll end up with a caked-on layer of powder on your finger or nail. It’s also good to buff the nail, as it won’t be covered in powder. In addition, you can also use a cuticle pusher to gently lift back cuticles to prevent the powder from adhering to the nail.
Once you’ve finished applying the base coat, you’re ready for the main event – your gel nails! Dip powder nails should last between 14 and 21 days. And, when correctly done, they shouldn’t lift or chip. Dip powder bands are made from high-quality acrylic material, which is safe for your nails and skin. They’re also gentle and nourishing, strengthening the nails.


